The Postcard Pathtracer, Part 1: Deciphering, Continued
Contents
Right around the start of 2020, I came across the blog of Fabien Sanglard (fabiensanglard.net). I believe it was because his current series of blog posts (at the time of writing/stumbling-upon) about Another World and its ports were hitting the front page on HN.
But at the time a different post caught my eye and led me down a deep rabbit hole lined with copious amounts of vector math… it’s the one about “Deciphering The Postcard Sized Raytracer”.
While writing this it became clear that I have to split it up into multiple posts:
- The Postcard Pathtracer, Part 1: Deciphering, Continued (you are here)
- The Postcard Pathtracer, Part 2: Of Letters, Coords & Squircles
- The Postcard Pathtracer, Part 3: Of Boxes, Lines & Rays
- The Postcard Pathtracer, Part 4: Hemispheres on vector bases
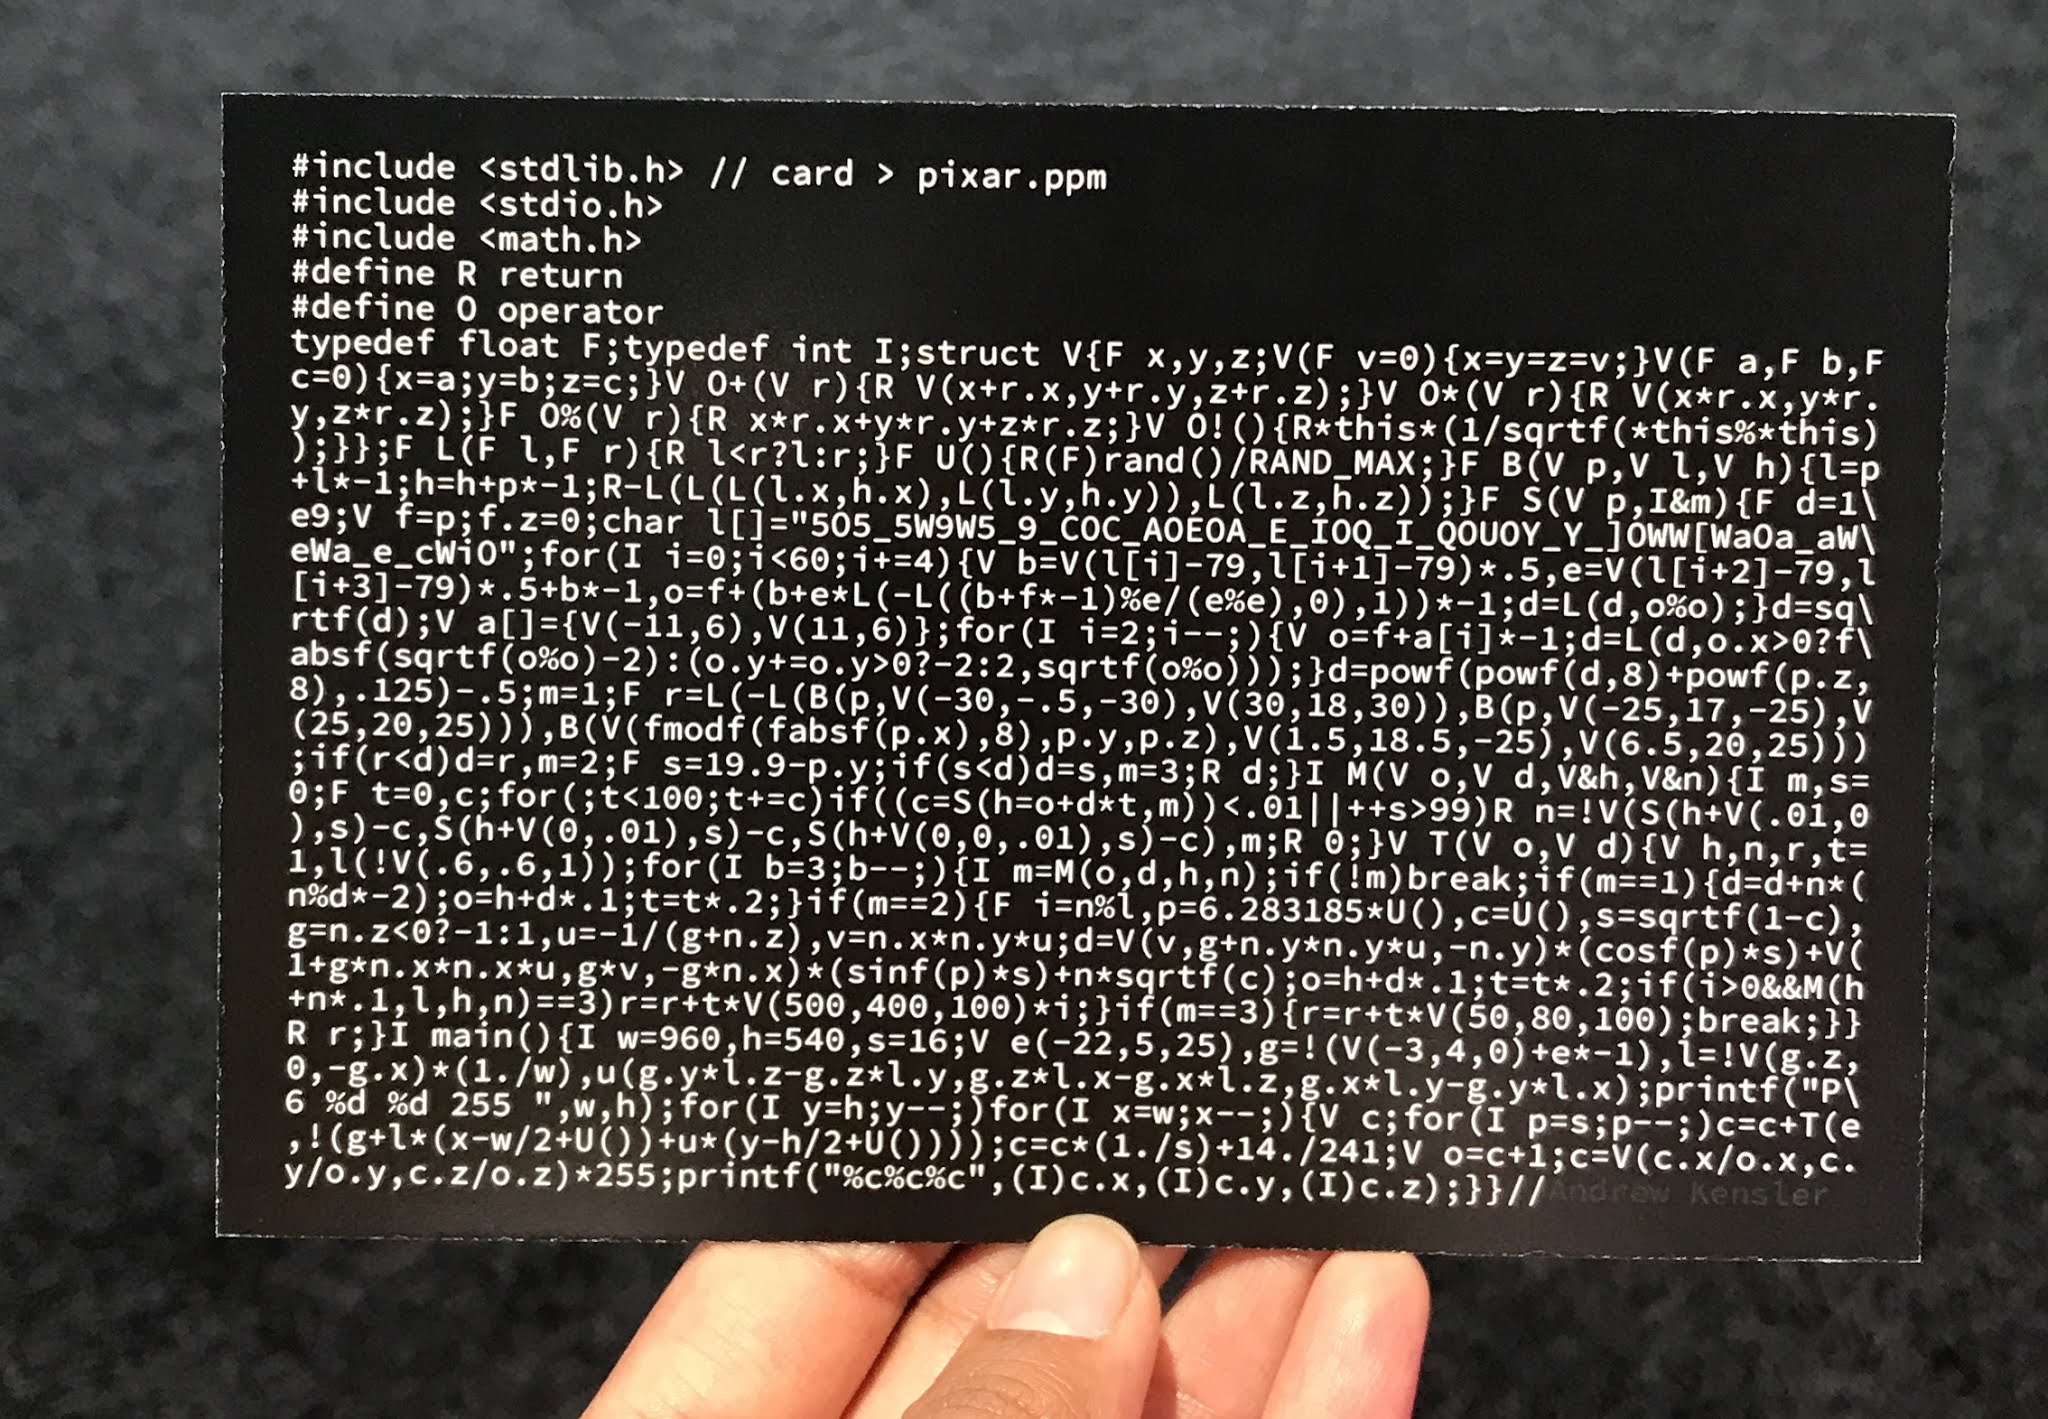
Here’s the pièce de résistance:

Photo courtesy @lexfrench on Twitter
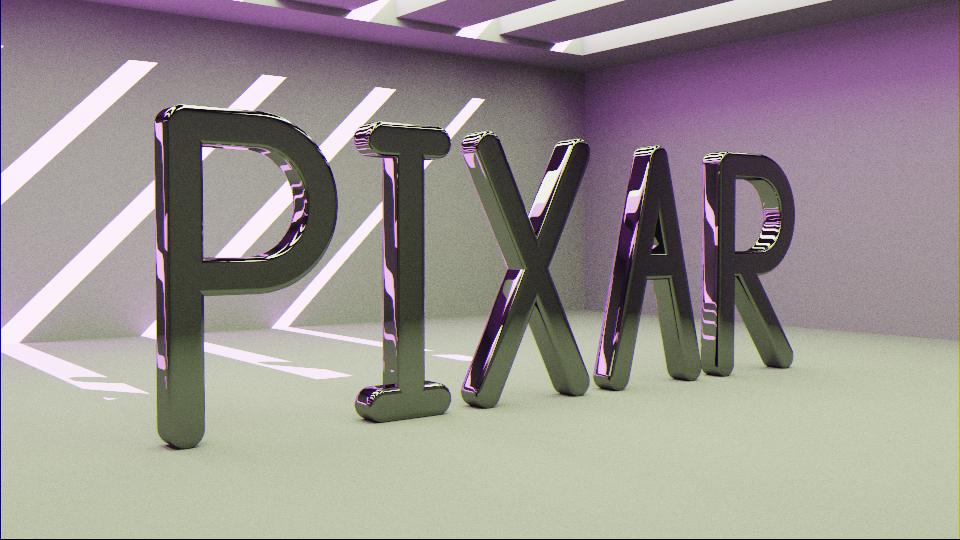
Yep, that’s a full-fledged pathtracer on a postcard, written by Andrew Kensler. Here’s what running it yields:

Render courtesy @lexfrench on Twitter
Fabien’s post is a great stab at making sense of this wholly opaque, inscrutable mess and makes its constituent parts quite a bit more digestible. This was my first time seeing the inner workings of a path tracer, or any ray tracer for that matter, and the first time I heard about CSG (Constructive Solid Geometry) and SDF (Signed Distance Functions/Fields). I also had to take an extensive refresher on vector math and trigonometric functions to get everything figured out and tidied up without breaking anything.
The two big things I really wanted to figure out are:
- how do the letters get the shape that they have, especially with the rounded off edges?
- what in the world are those calculations for the diffuse reflection?
I highly suggest that you read Fabien’s post first, as this one will be taking his findings and deobfuscated code as its basis. And who knows, maybe you’ll be down the rabbit hole alongside me before you know it?
Once you’re ready, let’s dig in further!

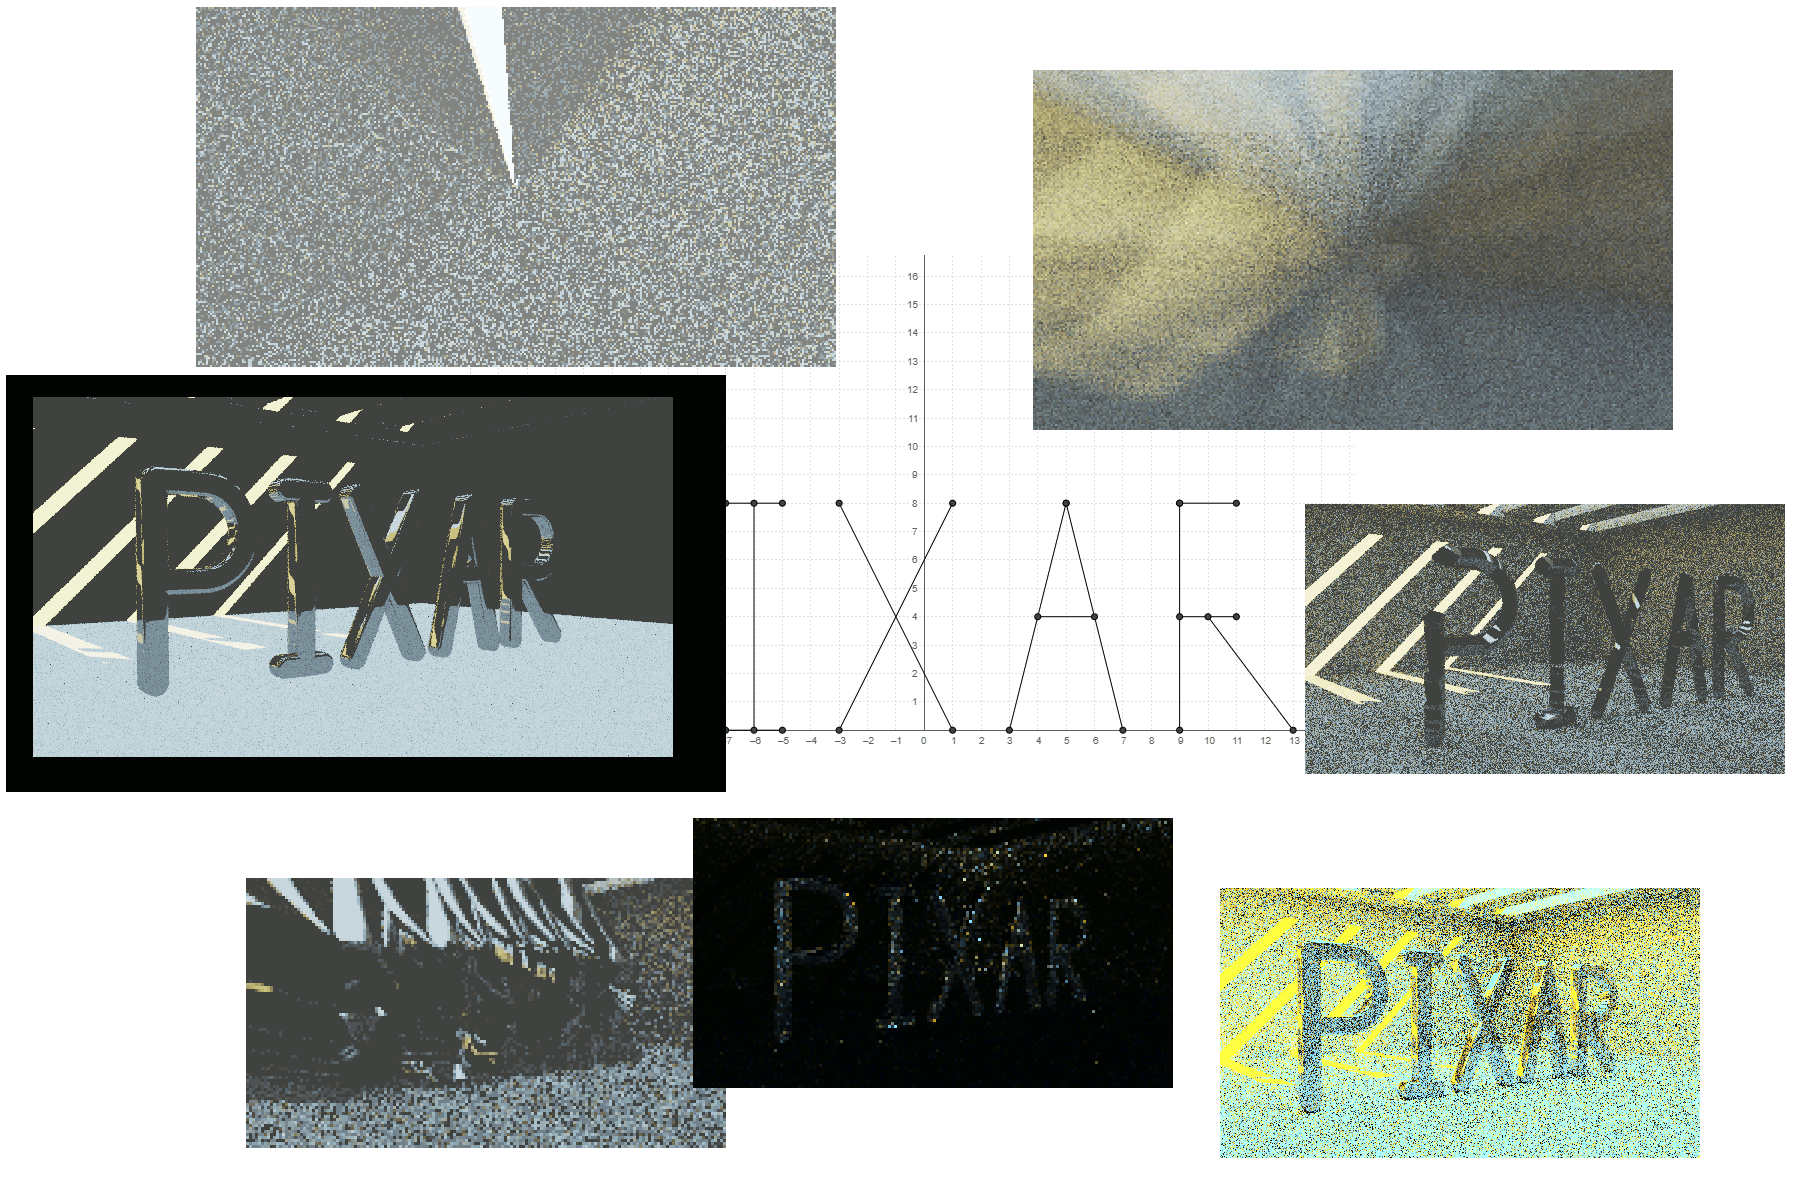
While playing around with the code I broke it many times, sometimes with interesting results.
— Overview —
For reference, here’s the version of the program we’re starting out with, as Fabien left it:
(And if you have javascript enabled it should hopefully fold itself and the highlighted functions neatly. I hope.)
|
|
Looking at the basic structure of the program, we have the following four functions:
main()– sets up camera vectors, and traces samples for each pixel, averaging them together. Outputs a NetPBM image.Trace()– Traces a single ray for a set amount of reflections off objects — specular (letters) or diffuse (walls) — or until it hits the light source. Returns a color value.RayMarching()– Performs what Fabien calls “signed sphere marching” or “distance assisted ray marching”: Gets distance to closest object, and moves the ray by that distance. Repeat until close enough to an object, or exit with no hit after set amount of iterations; returns hit position, normal vector and type of surface.QueryDatabase()– Calculates distance to either the PIXAR letters (more on how that works later), to the walls and other surfaces of the room, and to the “sun”; returns smallest distance, and type of object hit. Oh, and the “hit position” of that closest point.
I’m using the function names assigned by Mr. Sanglard, listed in reverse, which is basically also the hierarchy they’re called in, each using the output from calls to the following. Think of the list above as a top-down approach, rather than bottom-up.
Besides that there’s also some helper functions and utilities:
BoxTest()– Helps get the signed distance from a point to the walls of a boxrandomVal()– Returns a pseudo-random float between 0.0f..1.0fmin()– a min function for floatsstruct Vec– And lastly, a class for a 3d vector of floats
— Plan of action —
This series will roughly consist of the following sections:
- Part 1
- Methodically switching the
Vecclass out and making references to that more readable. I’m afraid that’s all I got covered in this first post.- Part 2
- Go over
QueryDatabase()as mentioned above, which covers the math involved in distance checks, which in turn give the letters their distinct shapes!- Part 3
- Quickly go over
RayMarching()while adding helpers and variables that give us more flexibility concerning the camera & light positions.- Part 4
- Finally addressing the diffuse reflections and everything that happens in
Trace().- And Beyond
- Tone-mapping, tracing & rendering optimizations, frame-by-frame animations, …?
Whenever I’m addressing specific code changes that I applied, I will be referencing commits in a cleaned up git repository I set up at:
https://git.redflames.space/rf/aek_postcard_pathtracer/commits/branch/master
Before doing anything else I converted the code to an Urho3D project:
- For one to make it easier to render the output to an image and display it as a sprite;
- Later on as quality-of-life improvements I added some UI to tweak rendering parameters, the option to iterate over increasing sample sizes, and periodically update the output while rendering.
- Oh, and to save to PNG with a single function call. :)
For the sake of clarity I’ll omit all that scaffolding code, and focus solely on the original pathtracer code snippets. I will include links to the relevant commits, where applicable.
(Sidenote: I hadn’t really used Urho3D before this, so I based my code off some sample projects. I built Urho from source with MinGW64 on Windows, and set up a CodeBlocks project.)
— Cleanup duty —
First overhaul: Vec class
Let’s start by looking at the Vec class in Fabien’s version:
|
|
It’s a vector composed of three float values. The first constructor takes a single float to initialize all three components to that same value. This one is important, because it is used to implicitly convert float to Vec (and int too, of course!) where necessary. The second constructor takes two or three float arguments, as the last component may default to 0.
Then we have overloaded operators for addition and multiplication with another Vec. But because of the implicit cast mentioned above, as we’ll later see in the rest of the code, these operators also get used when the left-hand side is a Vec and the right-hand side is an int or float. These two are also used when subtraction and division are needed, since you can just do + (x * -1) and * (1 / x) for those respectively.
The other two operators overloading % and ! are the dot product and the normalized version of the Vec: The comment there isn’t entirely accurate since the dot product of a vector with itself is x*x + y*y + z*z — the square root of which is its length!
And then, dividing a vector by its length gives us a the normalized vector, i.e. same direction but length 1.
$$\begin{aligned}\hat{a}\: &=\frac{\vec{a}}{\left|a\right|}\\\left|\hat{a}\right|&=1\end{aligned}$$What’s notably absent here is the cross-product: It is only used once in the main function to construct the normal Vec up. The code there is
V u(g.y*l.z-g.z*l.y,g.z*l.x-g.x*l.z,g.x*l.y-g.y*l.x);
compared to adding an overloaded operator and calling that instead:
V O&(V r){R V(y*r.z-z*r.y,z*r.x-x*r.z,x*r.y-y*r.x);} … V u=g&l;
…which does use up 7 precious extra characters and is thus obviously rather unfit for the purpose of squeezing a ray tracer onto a postcard. :)1
Now, for immediate comparison, here’s my first overhaul of the Vec class:
|
|
Mirroring the addition we have subtraction, alongside multiplication there’s division, and we’ve gained a handy cross-product, which I chose to overload onto &. The operators for dot- and cross-product don’t help readability very much — quite the opposite — but since my goal in the long run is to replace the whole class with Urho3D’s Vector3, we won’t see them around for much longer. The constructors remain unchanged.
After that I went over the rest of the code and cleaned up instances where subtraction and division were clearly expressed through the other two operators. You can see all the changes in this commit.
I’ll show one instance of cleaner code for comparison. At the start of the original main() we had:
   Vec goal = !(Vec(-3, 4, 0) + position * -1);
   Vec left = !Vec(goal.z, 0, -goal.x) * (1. / w_);
vs.
   Vec goal = !(Vec(-3, 4, 0) - position);
   Vec left = !Vec(goal.z, 0, -goal.x) / w_;
One other change worth mentioning is this:
color = Vec(color.x / o.x, color.y / o.y, color.z / o.z) * 255;
color = color / o;
…much nicer, but I did also omit the * 255 since Urho’s Color class expects values from 0.0 to 1.0, and a few lines later I would’ve just done /255.0 anyways.
I am actually a bit surprised the code didn’t have any need for Vec division. We can only really get away with writing division by a scalar via multiplication, since * (1 / v) will not compile without an operator/ (besides the fact that it also will not implicitly cast the int to a Vec on that left-hand side).
Next I threw in these:
   float LengthSquared() {
       return *this % *this;
   }

   float Length() {
       return sqrtf(this->LengthSquared());
   }
As we already noted, the cross-product of a vector with itself is the square of its length. There are a few places where that value actually comes into use by itself, but for the cases where we need the Length() itself, there’s a function for that too now. There aren’t all that many opportunities for substitutions with these in this commit but we’ll be glad for the boost in readability soon enough.
Two other small addition we’ll need for upcoming changes:
   Vec(Vector3 v) {
       x = v.x_;
       y = v.y_;
       z = v.z_;
   }

   Vector3 v3() {
       return Vector3(x, y, z);
   }
Just two helpers in our quest to gradually transition to Urho3D::Vector3.2
I now turned BoxTest’s parameters into Vector3:
|
|
The original code modified the parameters whereas I created two local vectors to make the naming clearer. Fabien already had a solid introduction to the ins and outs of CSG, along with visual explanations using a 2d rectangle analogous to the 3d box, so hopefully that gave you a decent understanding of what this function does. 3
All the call-sites to BoxTest have their arguments altered to construct Vector3s from scratch or create them from existing Vec variables via the v3() function for now. See this commit for the changes.
Yet more substitutions:
-
replaced the sole
Vecargument (position) ofQueryDatabasewith aVector3but nothing else yet. -
replaced all four arguments of
RayMarchingwithVector3. -
replaced both arguments to
Trace, as well assampledPositionandnormalwithVector3. (Note the different constructors:Vec(1)initializes as(1,1,1)whileVector3explicitly needs all three arguments!) -
in the rendering code (formerly
main()) the second argument toTracewas a complex computation that included the!operatorto get a normalized Vec. I split this off into a helper variable, since Vector3’s *.Normalized() call is more verbose. I even remembered to turn the dangerous single-line for-loop into a braced one. Woo!
You can find all the details of these changes in this commit.
And, before we move onto the meat of the actual code and what it does, we have one more round of vector-swapping in this commit.
A couple of notes:
-
I took the liberty to convert the vectors used for calculations related to the lines and curves of the letters into Vector2s since they all have their z-component set to zero at all times.
-
Split off some !operators into Vector3.Normalize() calls again.
-
I made a mistake in the Trace code, where I assumed color starts as ones, but it’s zeroes… when I initially played around with the code I fixed it by adding 3 instead of one to the divisor during tone-mapping… whoops ( https://stackoverflow.com/questions/6838408/how-can-i-declare-and-define-multiple-variables-in-one-line-using-c/6838480 )
Finally we can remove Vec, and I removed the min() function alongside it, replacing it with std::min. Corresponding commit here.
— Interim result —
To wrap up this first post, let’s look at the entire body of code we got so far, minus the Urho3D scaffolding:
|
|
And here’s the relevant part of main():
|
|
(full main.cpp here)
To be continued…
In the next post we will:
- convert that jumble of letters in
QueryDatabase()into readable coordinates. - pick apart the maths involved in checking the distance to the letter lines and how the curve is generated, too.
- explain how the letters get their blocky-but-rounded edges.
If it’s online by the time you read this, I will be linking to Part 2 here, as well as in the list of posts near the start of this one.
Beyond that I am planning future posts covering the remaining code, with topics such as:
- how the rays are reflected once they hit an object, because as I mentioned in the beginning I had quite a hard time working out how the diffuse reflections bounce off the walls.
- how the colors are calculated based off the light source and attenuation.
- and I might cover some basics of tone mapping (think HDR), assuming I actually get a better understanding of it by then.
Thank you for reading so far. I hope you found this post interesting despite how much of a deep-dive into the minutiae of Andrew Kensler’s code it’s turning out to be. Thanks again to him for making this pathtracer and to Fabien for his analysis that kicked off this investigation of my own!
If you have any corrections, constructive criticism or comments, please post them in the comments section below, or write to me via e-mail or Twitter! Feedback highly welcome.
~rf
-
(To be exact, we would save 12 characters since we can use x,y,z without referencing the lhs argument every time; but we’re also gaining 9 for the function signature, 2 braces, and 4 for returning a Vec (
R V…;). And for the actual vector we need 4 characters at the very least for the assignment of the cross-product. All this leaves us with -12 vs. +19, so a net loss of adding 7. ↩︎ -
And yes, I do have a
using namespace Urho3D;at the top of my file that I’m hoping I can get away with. I believe it’d be considered better style to not dump all of that into my namespace, but I thiiink with only a handful of functions of our own and a rather “experimental” setting we can let this one slide? In the parts that are from the original path tracer I’m really only going to be using Vector3 and Vector2 out of Urho’s namespace. I could’ve maybe gone the more verbose route (as I will be using some functions out of std:: ) but here we are. ↩︎ -
This function basically looks at the distance of a point to the walls of the box, i.e. along the x-, y- and z-axis, and takes the smallest out of all six values via a few nested min() calls. For everything to work correctly we assume that
lowerLefthas smaller values thanpositionper axis, and the same goes forpositioncompared toupperRight. This way all our potential minimum distances will be positive numbers without the need to call abs() a bunch. Except, we want this to represent the signed distance to a regular box, so negative values represent points that are inside the box. That’s why we negate our return value. ↩︎
Author rf
LastMod 2020-06-26